
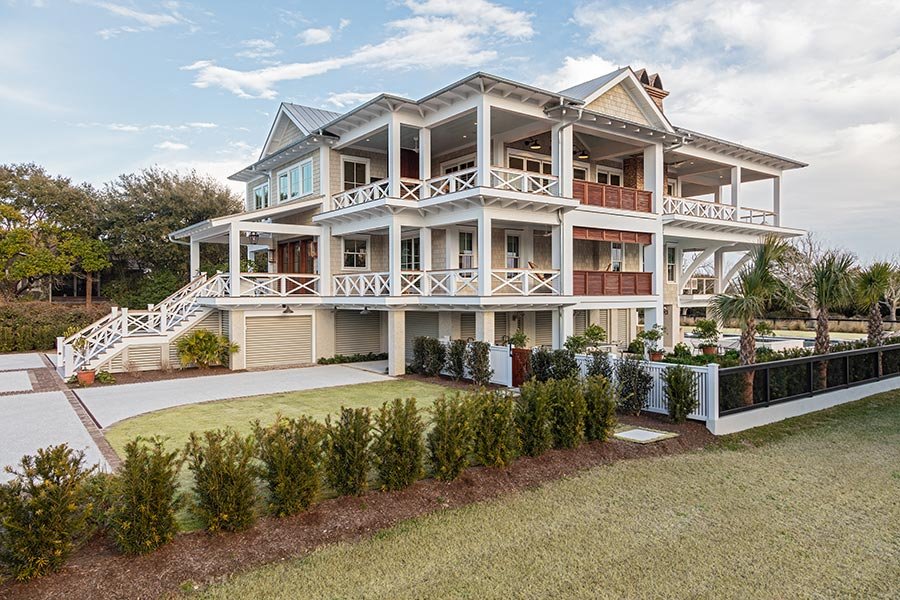
Completing a new build or major renovation near the shoreline is an exciting milestone, but before you take ownership, a thorough coastal home final walkthrough is essential. This step ensures your property meets expectations, complies with local codes, and is ready for move-in. Due to the unique challenges of coastal environments—like salt air, humidity, and storm exposure—your inspection should go beyond a standard checklist. This article provides a comprehensive guide to help you confidently navigate this crucial process, highlighting what to look for and how to address any issues before closing.
If you’re still in the planning stages or want to understand the full process, you might also find value in our guide on coastal home construction timeline, which outlines each phase from groundbreaking to completion.
Why a Thorough Inspection Matters for Coastal Properties
Homes built near the ocean face unique environmental pressures. Saltwater, wind, and fluctuating moisture levels can accelerate wear and cause hidden problems. A detailed coastal home final walkthrough helps you catch issues early, from corrosion on metal fixtures to improper weatherproofing. This process also ensures that all agreed-upon features and finishes are present and that the builder has addressed any punch-list items.
For those interested in best practices for construction in these environments, check out this comprehensive overview of coastal construction strategies.
Essential Areas to Review During Your Walkthrough
A successful inspection covers both the obvious and the subtle. Here’s what to focus on as you move through your new home:
- Exterior Finishes: Examine siding, stucco, paint, and trim for cracks, chips, or signs of early deterioration. Pay special attention to areas exposed to prevailing winds and salt spray.
- Roof and Gutters: Inspect for proper installation, flashing, and drainage. Look for rust on fasteners or metal components, and ensure gutters direct water away from the foundation.
- Windows and Doors: Test all openings for smooth operation and check weatherstripping. Ensure seals are tight to prevent moisture intrusion, a common issue in coastal zones.
- Decks, Railings, and Outdoor Spaces: Check for sturdy construction, corrosion-resistant hardware, and proper anchoring. Wood should be sealed or made from marine-grade materials.
- HVAC and Ventilation: Confirm systems are operational and protected from salt air. Filters and vents should be clean and corrosion-free.
- Plumbing and Electrical: Test all fixtures, outlets, and appliances. Look for GFCI protection in wet areas and confirm that plumbing is free from leaks or signs of rust.
- Foundation and Drainage: Walk the perimeter to check for cracks, settling, or poor grading. Proper drainage is vital to prevent flooding and erosion.
Special Considerations for Coastal Home Final Walkthroughs
Living by the sea offers incredible views and fresh air, but it also means your property is exposed to elements that require extra vigilance. Here are some coastal-specific factors to include in your inspection:
- Corrosion-Resistant Materials: Verify that exterior hardware, fasteners, and fixtures are made from stainless steel or other corrosion-resistant materials.
- Storm Preparedness: Ensure hurricane shutters, impact-rated windows, and reinforced doors are installed and functional. Ask your builder to demonstrate their use.
- Moisture Barriers: Check for proper installation of vapor barriers and waterproof membranes, especially in crawl spaces and basements.
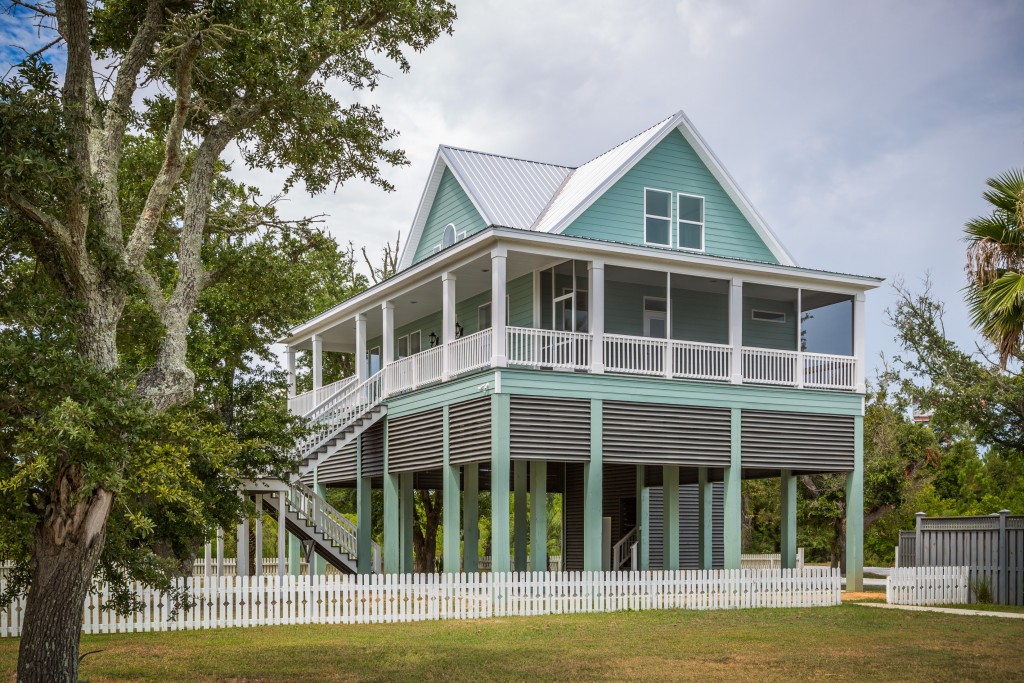
- Elevated Construction: If your home is built on piers or stilts, inspect the structural supports for stability and signs of shifting.
- Salt and Sand Management: Look for design features that minimize salt and sand intrusion, such as entryway rinsing stations or easy-to-clean surfaces.
Documenting Issues and Communicating with Your Builder
As you move through your coastal home final walkthrough, take detailed notes and photos of any concerns. Use a printed or digital checklist to stay organized. If you spot problems—such as incomplete finishes, malfunctioning systems, or signs of water intrusion—document them clearly and share them with your builder or contractor.
Most reputable builders will address these items before closing. If you’re unsure about a particular issue, consider bringing in a third-party inspector with experience in coastal properties. This extra step can give you peace of mind and help you avoid costly repairs down the line.
Tips for a Smooth and Effective Inspection Process
To get the most out of your walkthrough, keep these practical tips in mind:
- Schedule During Daylight: Natural light makes it easier to spot imperfections or damage.
- Bring Your Contract and Plans: Reference your agreement to confirm that all features and finishes match what was promised.
- Test Everything: Open and close windows, doors, and cabinets. Run faucets, flush toilets, and check appliances.
- Don’t Rush: Take your time to inspect each room and exterior space thoroughly.
- Ask Questions: If you notice anything unusual or unclear, ask your builder for clarification or demonstration.
For more insights on selecting the right professionals for your project, our article on how to choose coastal home builder provides helpful criteria and questions to ask.
What to Do If You Find Problems
It’s not uncommon to discover minor issues during your inspection. Create a punch list and share it with your builder, who should address these items before closing. For more significant concerns—such as structural defects or water intrusion—request written confirmation of repairs and, if needed, schedule a follow-up walkthrough.
If you encounter damage from recent storms or flooding, see our coastal home repair after flooding guide for immediate steps and long-term solutions.
Frequently Asked Questions
What should I bring to my final walkthrough of a coastal home?
Bring your contract, blueprints or plans, a printed or digital checklist, a camera or smartphone for documentation, and any correspondence with your builder. It’s also helpful to have a flashlight for inspecting less-visible areas and a notepad for jotting down questions or concerns.
How is a coastal property walkthrough different from a standard home inspection?
While both inspections cover general construction quality, a coastal home final walkthrough emphasizes resistance to salt, wind, and moisture. You’ll need to pay special attention to corrosion, waterproofing, storm protection features, and materials designed for harsh environments.
Can I hire a third-party inspector for my coastal home walkthrough?
Yes, and it’s often recommended—especially if you’re unfamiliar with coastal construction. An independent inspector with experience in shoreline properties can identify issues unique to these environments and provide an unbiased assessment before you close.
Final Thoughts on Ensuring a Quality Coastal Home
Taking the time for a detailed inspection before closing helps protect your investment and ensures your new home is ready for the demands of coastal living. By following a comprehensive checklist, documenting issues, and communicating clearly with your builder, you can move in with confidence and peace of mind.
For more information on budgeting for your project, see our breakdown of coastal home construction costs, or explore our resources on rebuilding after hurricanes for long-term resilience.